Florida Water Damage Restoration: What to Expect from Start to Finish
Water damage in Florida spreads fast, and the recovery process can feel overwhelming. You need a clear picture of what happens from the first emergency water removal to the final dry-out certificate. This guide walks you through every step of water damage restoration Florida homeowners and businesses can expect, so you know how professionals handle extraction, structural drying, mold prevention, and insurance claims with care and precision.
Understanding Water Damage Restoration
When water damage strikes, knowing what happens next can ease your mind. This section outlines the initial steps in tackling the issue.
Emergency Water Removal Process
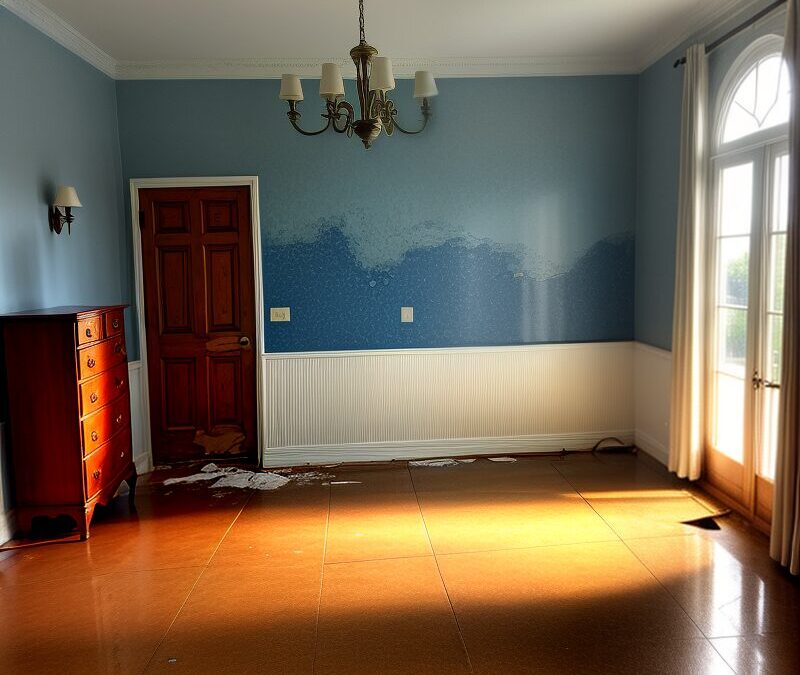
Acting quickly is crucial when water invades your space. Professionals start by assessing the damage and pinpointing the water source. They use specialized equipment to remove standing water swiftly, preventing further damage. Immediate action reduces the risk of mold growth and structural damage, giving you peace of mind.
Water removal isn’t just about speed—it’s also about thoroughness. Experts ensure every drop is extracted, targeting hidden areas like under carpets and behind walls. This comprehensive approach safeguards your property from hidden threats that could worsen over time.
Thermal Imaging Moisture Inspection
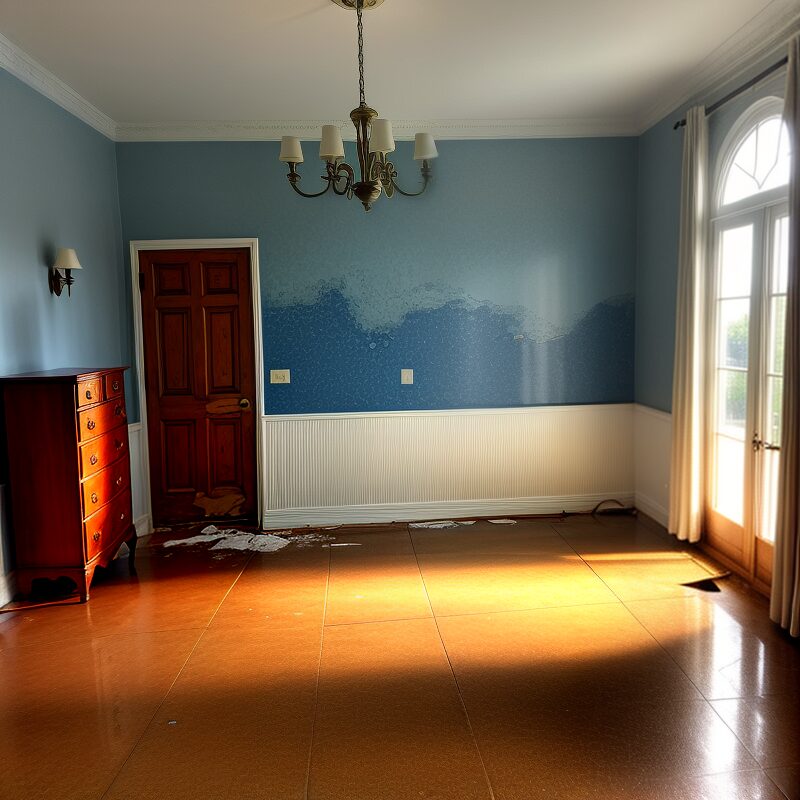
After water removal, the next step is identifying all moisture pockets, visible or hidden. Thermal imaging cameras come into play here. These devices detect moisture that the naked eye might miss, ensuring no damp spots are left untreated. This technology helps prevent future mold outbreaks, saving you headaches in the long run.
Moisture inspection is vital because it reveals damage extent, guiding the restoration strategy. Accurate detection means targeted action, reducing unnecessary repairs and costs. This precision ensures your home is restored efficiently and effectively.
Insurance Claim Assistance Steps
Navigating insurance claims can be daunting, but understanding the process makes it manageable. Start by documenting the damage with photos and detailed notes. This evidence supports your claim and helps adjusters understand the extent of your loss.
Next, notify your insurance company promptly. Most policies require immediate reporting. Engage with professionals who can assist in documenting losses and communicating with adjusters. Their expertise ensures you receive the compensation you deserve. Remember, quick action can make a significant difference in claim outcomes.
Structural Drying and Dehumidification
Once the initial steps are complete, it’s time to focus on drying and stabilizing the structure. This phase is crucial for long-term restoration success.
Effective Structural Drying Techniques
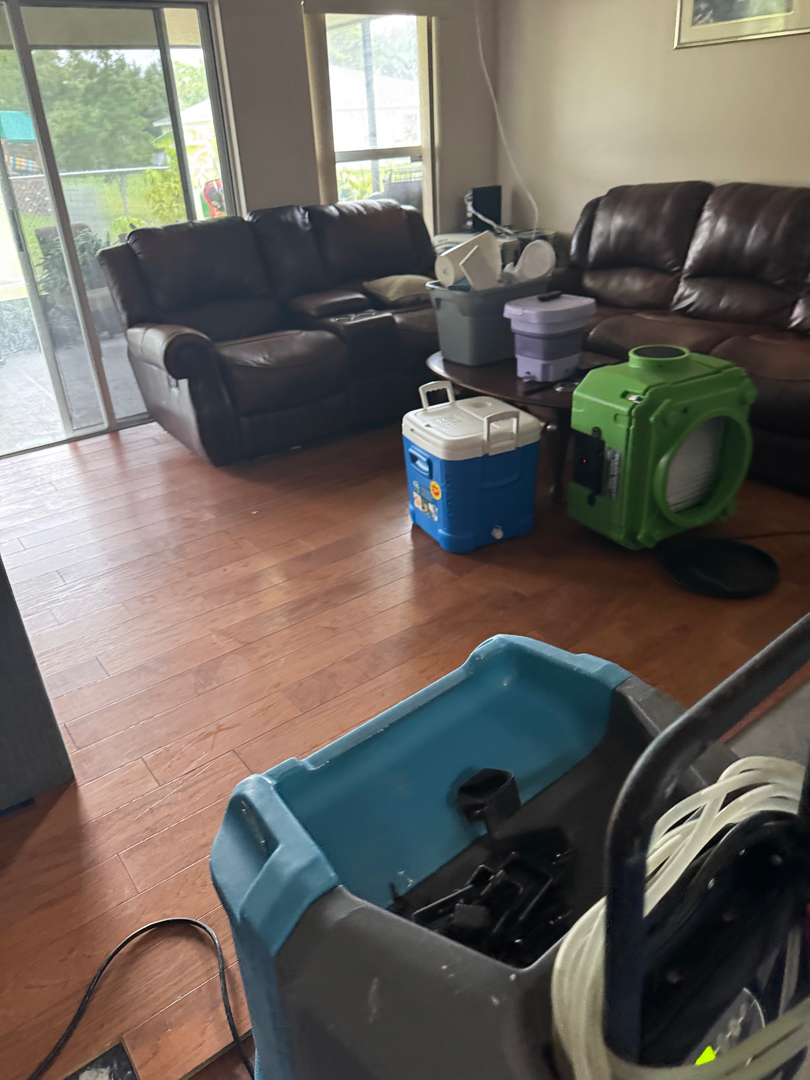
Drying the structure is not just about setting up fans. Technicians use advanced techniques to remove moisture from building materials. High-powered air movers and dehumidifiers work in tandem to accelerate drying, reducing the risk of further damage.
Each drying plan is tailored to your home’s specific needs, ensuring efficiency. Targeted drying prevents secondary issues like warping or mold growth, safeguarding your investment. This attention to detail is key in preserving your property’s integrity.
HEPA Air Filtration Benefits
During drying, maintaining air quality is essential. HEPA air filtration systems capture airborne particles, including mold spores and dust. This process not only cleans the air but also protects your health during restoration.
Using HEPA filters ensures that the environment remains safe for you and your family. Clean air contributes to a healthier home, crucial during recovery. This step is often overlooked but is vital for comprehensive restoration.
Mold Prevention in Florida
Mold thrives in Florida’s humid climate, making prevention a priority. Professionals use antimicrobial treatments to inhibit mold growth on damp surfaces. This step is crucial in avoiding future infestations that can harm health and property.
Preventing mold is cost-effective compared to remediation. By addressing moisture issues early, you avoid extensive damage and health risks. Proactive measures save time, money, and stress, ensuring a safer home environment.
Rebuild and Restoration Completion

With drying and stabilization complete, the focus shifts to rebuilding and finalizing the restoration. This phase brings your property back to its pre-damage state.
Detailed Photo Documentation
Documenting the restoration process provides a clear record of work done. Photos taken during each stage of restoration serve as proof of progress and completion. This documentation is invaluable for insurance purposes and personal records.
Keeping a visual record ensures transparency and accountability. It allows you to see the transformation and appreciate the effort involved. This transparency builds trust between you and the restoration team.
Certificate of Drying Explained
A dry-out certificate is issued once the property reaches acceptable moisture levels. This document confirms that your home is safe from moisture-related issues. It’s an assurance that all necessary steps have been taken to restore your home effectively.
Having this certificate is crucial for peace of mind and resale value. It demonstrates that your property has been professionally restored, reassuring future buyers or tenants. This certificate is a testament to the quality and thoroughness of the restoration process.
Final Steps of Restoration Process
The last steps involve ensuring every detail is perfect. This includes minor repairs, paint touch-ups, and thorough cleaning. These finishing touches restore your home to its original condition, making it feel like new again.
Completing these final steps means more than aesthetics. It ensures your home is safe, comfortable, and ready for occupancy. This comprehensive approach underscores the commitment to quality and customer satisfaction, leaving you with a home that feels like home once more.
https://allinonecleaningrestoration.com/blog/